Difference between revisions of "Jackrabbit Repository Installation & Configuration"
| Line 3: | Line 3: | ||
All you need to do is the following: | All you need to do is the following: | ||
*Download [http://repo1.maven.org/maven2/javax/jcr/jcr/2.0/jcr-2.0.jar jcr-2.0.jar] and put it into '''<tomcat-install-dir>/shared/lib'''. | *Download [http://repo1.maven.org/maven2/javax/jcr/jcr/2.0/jcr-2.0.jar jcr-2.0.jar] and put it into '''<tomcat-install-dir>/shared/lib'''. | ||
| − | *Get the WAR distribution from the [https://grids16.eng.it/BuildReport/browse/Recent_Builds/org.gcube.2-11-0/BUILD_16 Stable Build (jackrabbit-webapp-patched- | + | *Get the WAR distribution from the [https://grids16.eng.it/BuildReport/browse/Recent_Builds/org.gcube.2-11-0/BUILD_16 Stable Build (jackrabbit-webapp-patched-<version>.tar.gz)] and deploy it into Tomcat. |
Revision as of 17:00, 22 January 2013
This document describes how to setup a Jackrabbit content repository in the Web-Application Bundle deployment model. The instructions in this document apply to Tomcat versions 5.x and 6.x. It should be easy to modify the instructions for other container environments.
All you need to do is the following:
- Download jcr-2.0.jar and put it into <tomcat-install-dir>/shared/lib.
- Get the WAR distribution from the Stable Build (jackrabbit-webapp-patched-<version>.tar.gz) and deploy it into Tomcat.
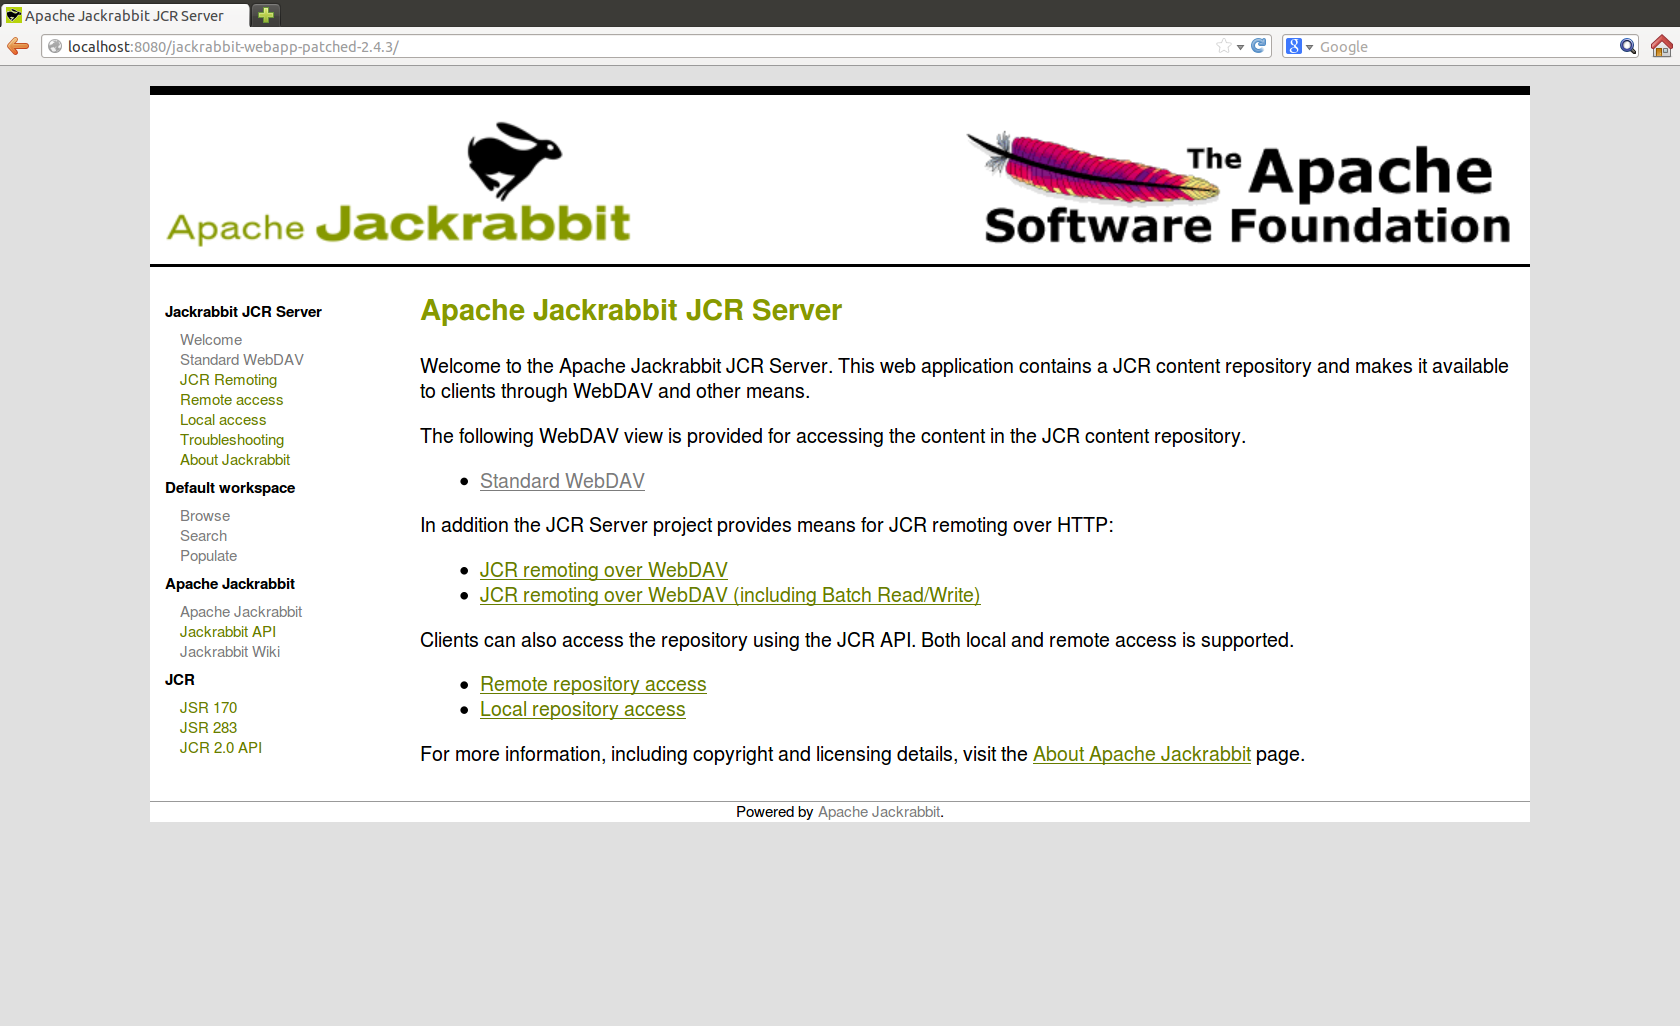
If web-application deployment is successful, pointing you browser to jackrabbit-webapp-<version> you can see the follow page:
Use this URL http://localhost:8080/jackrabbit-webapp-patched-<version>/repository/default/ to access the content repository in your WebDAV client.
The server asks for authentication, username and password are provided as init parameters in web.xml file for RepositoryStartup servlet.
An other parameter you can set is the repository-path, the path where the jackrabbit repository will be installed. The web-app will use these parameters during the deployment phase.
